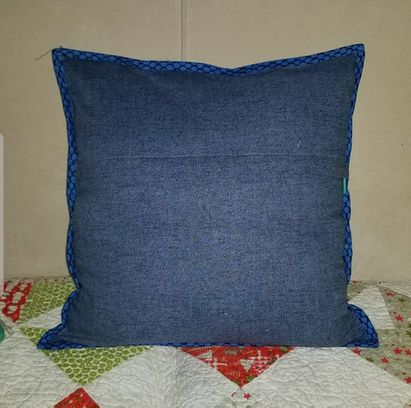
So yesterday I promised a tutorial on how I do a hidden zipper pillow back.
For a 16″ pillow form, you will need:
(1) 9″ x 16″ rectangle
(1) 12″ x 16″ rectangle
(1) zipper 16″ or longer
First, take your 12″ x 16″ rectangle. Fold and press 1/2″ along the long side, then press down 1/2″ again. Your piece should now measure 11″ x 16″

Next, fold and press 1″ along the long side of your 9″ x 16″ rectangle, then 1″ again. It should measure 7″ x 16″.

Now it’s time to add the zipper. Pin or glue baste zipper along long edge of 11″ x 16″ piece and stitch using zipper foot.

Now, take your 7″ x 16″ piece and place on top, right sides together. Unfold so only the first 1″ fold edge is against the top of zipper.

Pin and stitch with a 1/8″ seam.

Fold up and you will see the second 1″ fold is now hiding your zipper.

To keep it that way you’ll need to stitch. So back in your machine and line your zipper foot up with your zipper and stitch along the top edge of the zipper on top of the flap as shown. For me, this means stitching right in the center hole of my zipper foot rather than to the left or right as shown below.

Unzip your zipper, making sure your zipper pull is inside pillow back area.

Position the zipper in a closed position with the tab still safely inside the pillow back area and stitch 1/8″ from edge across zipper and then trim excess zipper. This will keep your zipper pull from coming off while you finish your pillow.

Now you have your hidden zipper pillow back ready to go.


To finish up, you can either put your pillow back and face right sides together. Be sure your zipper is open so you can turn right side. Stitch 1/4″ or 3/8″ seam as desired. Turn right side out and press.
Or you can baste wrong sides together, stitch 1/4″ around, then bind to finish. This is my favorite way. I think the binding just gives the pillows a little pop.

There you have it! If you have any questions, let me know! If you do something different, I’d like to hear!


Shop related products:


