
This post has been updated to include new tips, improved instructions, and fresh inspiration for your quilting journey!
Affiliate Disclaimer:This post may contain affiliate links. If you purchase through these links, I may earn a small commission at no extra cost to you. I only recommend products I love and trust. Thank you for supporting Four Robbins!

I’ve had my eye on making a map quilt for a while, and I finally tackled it on a cozy day at home with a good movie playing in the background. If you’ve been thinking about making one, too, this step-by-step guide will walk you through the process.
Whether you want a US map, a different country, or even a world map, the technique is the same. You just need a clear map, some fusible web, and fabric scraps. Let’s get started!
Step 1: Print Your Map at Poster Size
First, print your map as an enlarged poster so you can use it as a template. Here’s how:
1. Open the map file and click Properties in the print settings.

2. Select the Page Setup tab.

3. Look for the Tiling/Poster option and select it.
4. Click Specify, then set Image Divisions to 16 (smaller divisions make tiny states like those on the East Coast harder to cut).

5. Print and tape the pages together, making sure everything lines up correctly.

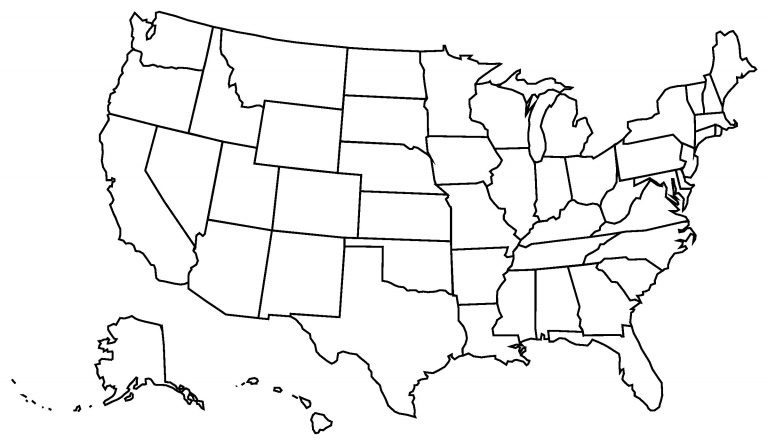
This is the map I used but if you prefer a different map or want to do a different country or the world map, you can find a nice clear map and follow the same steps. Printable PDF

Step 2: Prepare Your Appliqué Pieces
1. Trace the map – Use Steam-A-Seam 2 (or your preferred fusible web) to trace each state or section of your design. Numbering your pieces helps keep things organized.

2. Cut out your shapes – Carefully cut out each piece along the traced lines. These are amazing scissors for applique or fine cutting.

3. Fuse to fabric – Peel off one side of the paper backing and press the fusible web onto the back of your fabric.

Step 3: Assemble Your Quilt Top
1. Position the states – Arrange the pieces on your background fabric, either lining them up exactly or slightly overlapping.

2. Press in place – Once everything is where you want it, use an iron to fuse the pieces securely.Optional: While Steam-A-Seam 2 holds the fabric in place well, you can also stitch around each state for added durability and a decorative touch.

Optional: While Steam-A-Seam 2 holds the fabric in place well, you can also stitch around each state for added durability and a decorative touch.

For a personal touch, I added little fabric hearts to mark where my family has lived and where each member was born.
Step 4: Add Borders and Quilt
1. Cut (46) 3.5-inch squares from coordinating fabrics for a scrappy border.
2. Piece the border and sew it around your map.
3. Quilt as desired – I chose a meander quilting pattern over the states and an outline stitch around the background.

Final Quilt Size and Finishing Touches
The finished quilt measures approximately 42” x 32”—perfect for a wall hanging, learning tool, or unique home décor piece.

I love how mine turned out, and I’d love to see yours! Share your creations with the hashtag #FourRobbinsQuilts on social media.
Happy quilting!
Krista
