If you love appliqué quilting but find cutting intricate pieces a challenge, laser-cut quilt kits are a game-changer! A few years ago, I had the amazing opportunity to win a Holi Ganesha quilt kit from Laser Cut Quilts, and it quickly became one of my favorite quilting projects.
.

What Makes Laser-Cut Quilt Kits Unique?
Traditional appliqué quilting requires precision cutting, tracing, and fusing, which can be time-consuming. With pre-cut quilt kits, the pieces come laser-cut with peelable adhesive backing, making assembly fast, accurate, and frustration-free.
Holi Ganesha Quilt Kit – What’s Included?
This quilt kit provided everything needed to bring this intricate design to life:
✅ Pre-cut appliqué pieces with peel-and-stick backing
✅ A full-size placement diagram for easy assembly
✅ Coordinating binding

Step-by-Step Process for This Appliqué Quilt
1️⃣ Placing the Appliqué Pieces – Using the placement diagram, I carefully arranged each laser-cut fabric piece onto the background fabric. The adhesive backing allowed for effortless positioning.
2️⃣ Pressing & Securing the Design – Once satisfied with the layout, I pressed the pieces to fuse them in place, ensuring they stayed secure for stitching.

3️⃣ Appliqué Stitching – To make the design permanent, I stitched around each appliqué piece, adding durability while maintaining a clean finish.

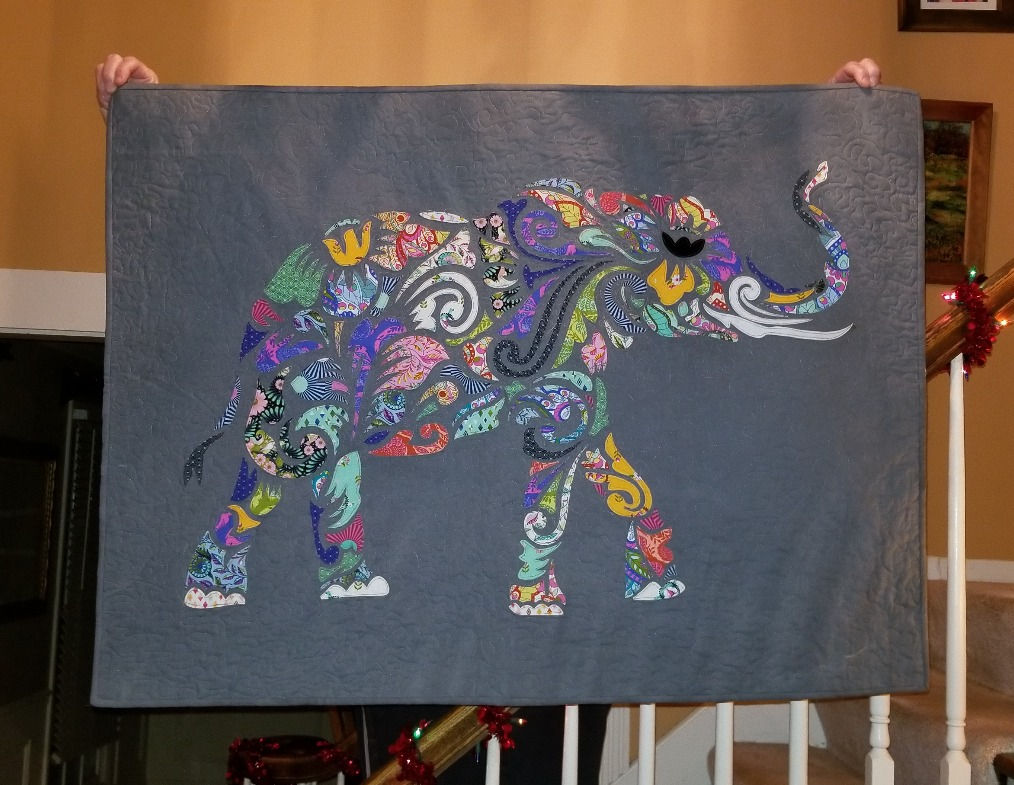
4️⃣ Quilting the Design – I wanted to keep the quilting simple to let the intricate elephant design stand out. I chose a free-motion meander stitch, using a larger meander outside the elephant and a smaller meander within to enhance the texture without overpowering the appliqué.


5️⃣ Binding & Finishing – The final step was adding the coordinating binding, which completed the quilt beautifully.
Why Choose a Laser-Cut Appliqué Quilt Kit?
🔹 Time-Saving & Hassle-Free – No need to trace or cut intricate shapes!
🔹 Perfect for Beginners & Experienced Quilters – Whether you’re new to appliqué quilting or a seasoned pro, these kits make the process easy and fun.
🔹 Precise & Professional Finish – Laser-cut edges ensure clean lines and perfectly shaped appliqué pieces.
Final Thoughts on This Holi Ganesha Quilt
From start to finish, this quilt took about a week, working a few hours each day. The vibrant colors, detailed elephant design, and smooth appliqué process made it an absolute joy to create.
If you’re looking for a fun and stress-free way to make an appliqué quilt, I highly recommend checking out Laser Cut Quilts!
Have you ever tried a laser-cut quilt kit? Share your experience in the comments! ⬇️


vorbelutrioperbir
Hello my friend! I want to say that this post is awesome, nice written and include almost all significant infos. I would like to see more posts like this.